How to Pair LED Light Remote: A Step-by-Step Guide
If you’ve recently acquired LED lights for your home or office, you’re likely excited about their aesthetic and energy-saving benefits. However, mastering the art of controlling LED lights can be perplexing, especially when it involves a remote control.
Today, I will guide you on how to pair an LED light remote, use it to control multiple light strips and troubleshoot common issues. By the end, you’ll be the maestro of your lighting, creating a stunning atmosphere with ease.
LED lights have revolutionized the way we decorate our spaces. Not only are they energy-efficient, but they also offer a stunning array of colors and modes that can transform your surroundings.
To unlock their full potential, you must understand how to pair lights with a remote and take control of your lighting experience. Today, I’ll break down the process step by step, making it accessible for everyone, whether you’re tech-savvy or not.
Understanding Remotes Connectivity
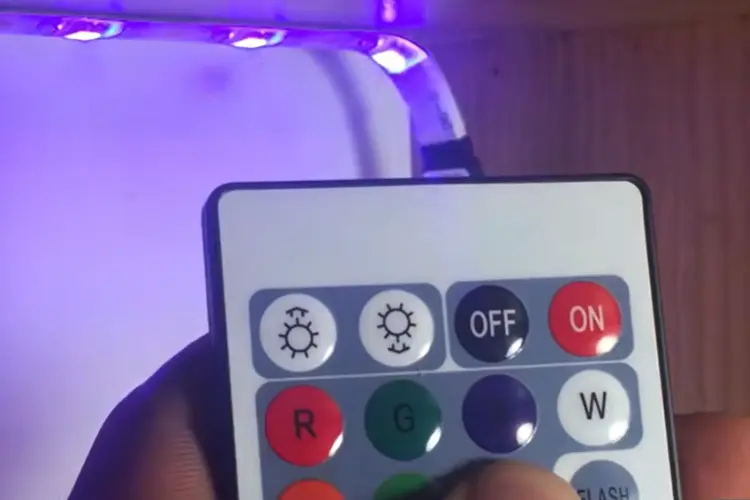
Before we get into the nitty-gritty of pairing, let’s first understand these remotes and how they work.
It is a compact device that allows you to control your LED lights’ color, brightness, and modes from a distance. They usually come with colored buttons and other features that make customization a breeze.
Pairing: The Basics
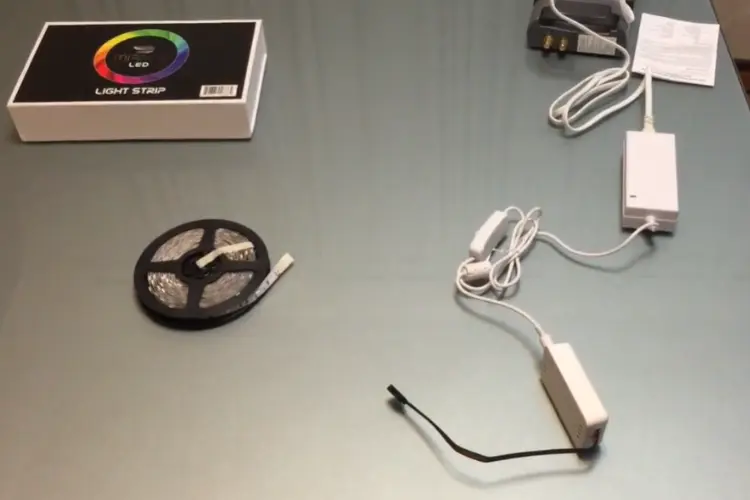
Gather Your Equipment
Before you start pairing, make sure you have the following items ready:
- The LED remote control
- The LED lights you want to pair
- Batteries for the remote (if not pre-installed)
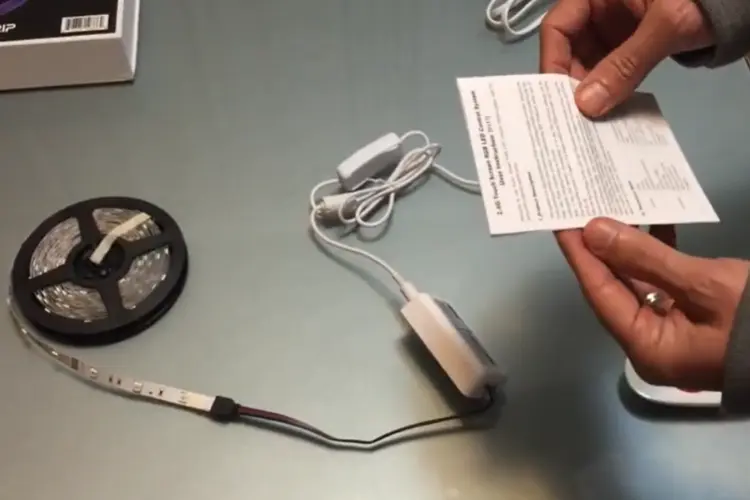
Power Up Bright
Ensure that your lights are correctly installed and powered. If you need clarification on the installation, refer to the manufacturer’s instructions.
Step-by-Step Pairing Process
1. Point the Remote at the LED
To establish a connection, point the remote control at the LED lights. Please make sure there are no obstructions between them.
2. Press and Hold the Pairing Button
Look for a dedicated pairing button on the remote. Press and hold it until you see them respond. This may involve a flashing of sunlight or a color change.
Congratulations! You’ve successfully paired your remote with lights.
Controlling Multiple Light Strips with One Remote
If you have multiple LED light strips in a room or throughout your space, you can synchronize them to work with a single remote control.
This simplifies the management of your lighting setup and ensures a uniform lighting experience.
Read more: How To Remove LED Lights Without Peeling Paint
Voice Control
For a truly modern and convenient experience, consider voice control for your bright LED strip lights. Many are compatible with famous voice assistants like Amazon Alexa and Google Assistant, allowing you to manage your lights with simple voice commands.
Adjusting Light Modes and Colors
Once you are paired, you can have fun experimenting with various light modes and colors. Change the ambiance of your space with ease, from warm, cozy tones to vibrant, vibrant shades.
Pairing with Different Brands
Sometimes, you might have lights from different brands in your home. In such cases, compatibility can be a concern. I’ll discuss how to overcome compatibility issues and ensure smooth operation.
Read more: How To Connect LED Lights To Phone
Troubleshooting Common Issues
LED Lights Not Responding After a Restart
If they don’t respond after a power outage or restart, don’t panic. I’ll guide you on how to get them working again.
Issues with the Remote’s Plastic Strip
The plastic strip inside the remote control is vital in conserving battery life. I’ll explain its function and how to maintain it.
Read more: Microsoft’s Massive New Windows 11 Update
Advanced Features: Jump and Strobe Modes
Want to take your lighting experience up a notch? Explore advanced lighting features like jump mode that switches across colors rapidly or a strobe effect for parties and celebrations.
Extending Battery Life
To keep your LED light functioning optimally, you should know how to extend the life of your remote batteries. I’ll provide tips to help you save on battery replacements.
I’ve covered the basics of pairing with a remote, controlling multiple light strips, and troubleshooting common issues. You now know how to create the perfect lighting atmosphere for your space. Experiment, enjoy, and make the most of your LED lights!
Check the related video on YouTube at Mirage LED Channel:
Frequently Asked Questions (FAQs)
Yes, you can sync multiple strips with a single remote control, making it convenient to manage your lighting.
Some remotes have universal compatibility, while others may require specific pairing steps. Refer to the manufacturer’s instructions for guidance.
Try resetting the lights by power-cycling them, and ensure the batteries are in good condition.
The plastic strip helps conserve battery life by preventing accidental button presses. Please keep it in good condition for optimal performance.
To prolong your batteries’ life, ensure the plastic strip is intact, and replace batteries when they show signs of depletion.