
How to Remove LED Lights Without Peeling Paint
LED lights have become famous for homeowners due to their energy efficiency and longevity. However, there may be a time when you need to replace or remove them without damaging the paint on your ceiling or wall.
Removing LED lights without peeling paint requires a careful and systematic approach. This guide will walk you through the process step by step to ensure a successful and paint-friendly removal.
Preparing for Removal
Before you start the removal process, it’s essential to be well-prepared. Here’s what you need to do:
Step 1: Turn Off the Power
Safety should always come first. Turn off the power to the light fixture at the circuit breaker or switch off the light switch. This will prevent any electrical accidents while you work on the removal.
Step 2: Gather Your Tools
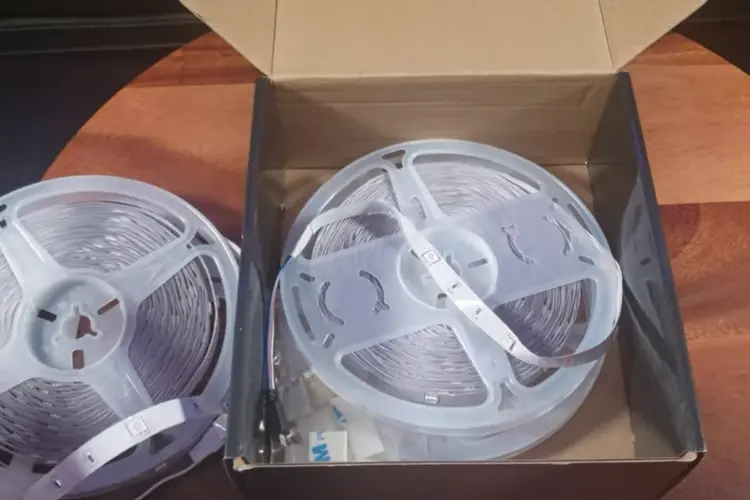
To successfully remove LED lights without damaging your paint, you’ll need the following tools and materials:
- Screwdriver or drill
- Wire nuts
- Wire stripper
- Pliers
- Non-contact voltage tester
- A ladder or step stool
- A putty knife
- A small plastic container for screws and wire nuts
- A paint touch-up kit
- Follow our Step-by-Step Guide
Step 3: Remove the Fixture
Start by removing the fixture cover if your light has one. Usually, these covers are held in place by clips or screws. Carefully detach the cover to expose the LED light fixture.
Step 4: Disconnect Wires
After removing the cover, you’ll find the wires connected to the fixture. Use a wire stripper to expose and disconnect the cables, and cap the exposed wires with wire nuts.
Step 5: Loosen the Mounting Bracket
With the wires disconnected, you can now work on the mounting bracket. Use a screwdriver or drill to loosen the screws holding the frame in place. Be cautious not to damage the ceiling or wall during this step.
Step 6: Remove the Screws Holding
The LED light itself is typically held in place by screws. Remove these screws carefully to free the light from its mounting.
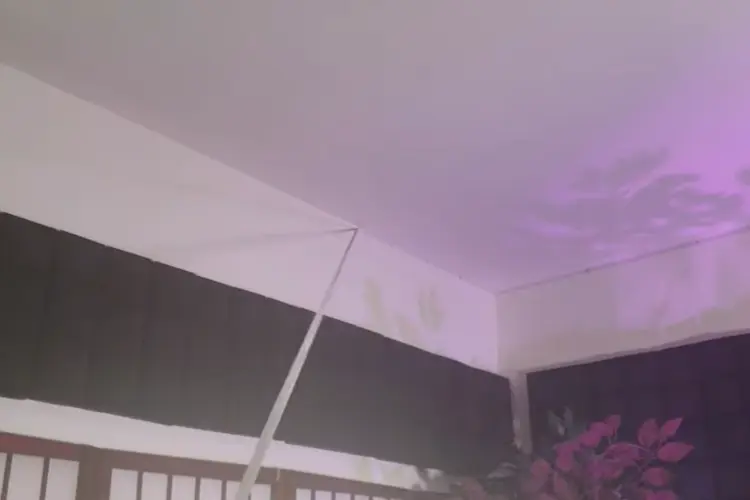
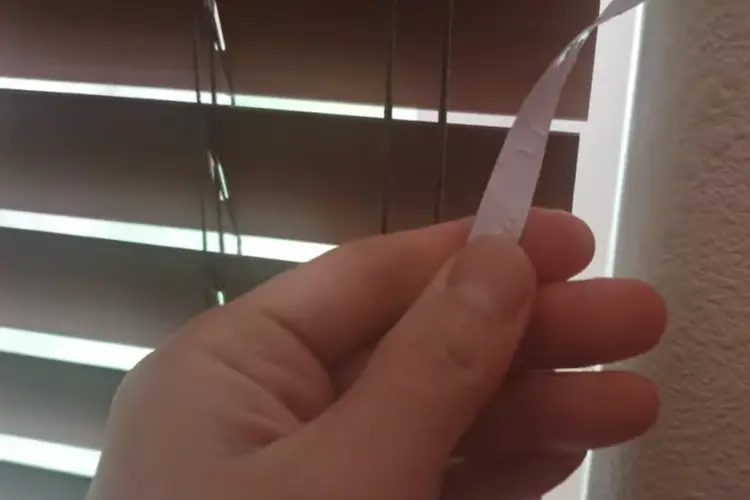
Step 7: Gently Pry Off the LED Light
With the screws removed, use a putty knife to pry the LED light from the ceiling or wall gently. Be patient and take your time to avoid any damage to the paint.
Step 8: Clean the Surface
Clean the area once the light is removed to eliminate any dust or debris. You can use a soft cloth or a mild cleaning solution, but avoid anything abrasive that could scratch the paint.
Step 9: Repair Any Damage
Inspect the paint for any minor damage or holes caused during the removal. Use a paint touch-up kit to repair and blend these areas with the surrounding color.
Step 10: Reinstall the Fixture
If replacing the lights, follow the manufacturer’s instructions to install the new fixture. Make sure to secure it properly to avoid future issues.
Maintaining Your Paintwork
To maintain the integrity of your paintwork when removing LED lights, consider the following tips:
- Use a plastic putty knife for prying to minimize the risk of scratches.
- Be gentle and patient during removal to avoid paint peeling or chipping.
- Apply a layer of painter’s tape around them before removal to protect the surrounding paint.
- For stubborn adhesive residue, use a gentle adhesive remover.
Conclusion
Removing them without peeling paint is manageable when approached with care and the right tools. Following these steps and keeping your paintwork in mind, you can successfully remove or replace your LED lights without unsightly damage.
Check the related video on YouTube:
Frequently Asked Questions (FAQs)
It’s best to use a screwdriver with a fine tip or a drill with a screwdriver bit to ensure control and accuracy during removal.
If you accidentally scratch the paint, use a paint touch-up kit to repair the damaged area. Make sure to blend it with the surrounding color for a seamless finish.
You can remove yourself by following the steps in this guide. Still, if you need clarification or are uncomfortable doing it, hiring a professional is always a good idea.
Yes, you can typically reuse the mounting bracket if it’s in good condition and suitable for the new LED light fixture.
If it is challenging to remove, use a gentle adhesive remover to loosen any adhesive or caulking holding it in place. Be patient and avoid using excessive force.